Local Environment
In order to run a instance of the OPC.IT website on your local environment (aka running it on some port of your local machine, for instance 0.0.0.0:80 or 127.0.0.1:80) You will first need to get the source code of the website onto your local machine via VCS (Version Control Software, here we use Gitlab), then use the pygmy to start all the required (dependent) Docker containers and add the ssh key, use the ahoy to run a customized workflow to build/initiate/run the main Docker containers, and lastly also use ahoy to import the database of the production to your local environment.
For more information on how to use these two development tools, refer to their offical documentaion:
The workflow of ahoy are defined in the file .ahoy.yml located on the root directory of the working repository.
A more detailed work flow will be introduced up next.
1 - Version Control (Gitlab)
To begin with, if you wish to make any changes to the main branch, you should always make a new branch from the main, and start developing based on the new branch; Here we'll assume there's a broken issue on the Orion Monitoring, and we would like to fix it with some code.... Hence we create the new branch Orion-Fix-FailedToFetchHttpErr from main and clone it to our local machine.
![2023.06.13 - 15_51_34 - [Google Chrome-OPC eBusiness OPC Website · GitLab] -](/Documentation-Orion/assets/images/daskldjklasda-454b03a510c0063f8605522253f39118.jpg)
2 - Docker Environment Setup (Pygmy / Ahoy)
After getting the source code onto your local device, you will need to crank up a amazed.io Docker development environment to host your drupal site inside, the setup will involve using pygmy to start all the required (dependent) Docker containers and add the ssh key, use the ahoy to run a customized workflow to build/initiate/run the main Docker containers.
![2023.06.13 - 15_46_51 - [Terminal-~Desktop] -](/Documentation-Orion/assets/images/2023.06.13 - 15_46_51 - [Terminal-~Desktop] --62fcda45ee0197473fcd39b3e7c9a929.jpg)
Executing the command ahoy up is equivalant of running a series of comamnds as follows:
docker-compose up -d &&
docker-compose exec cli composer install &&
ahoy info;
A full list of ahoy workflow are defined in the file .ahoy.yml located on the root directory of the working repository.
The URL is defined in the docker-compose.yml file as the follows:
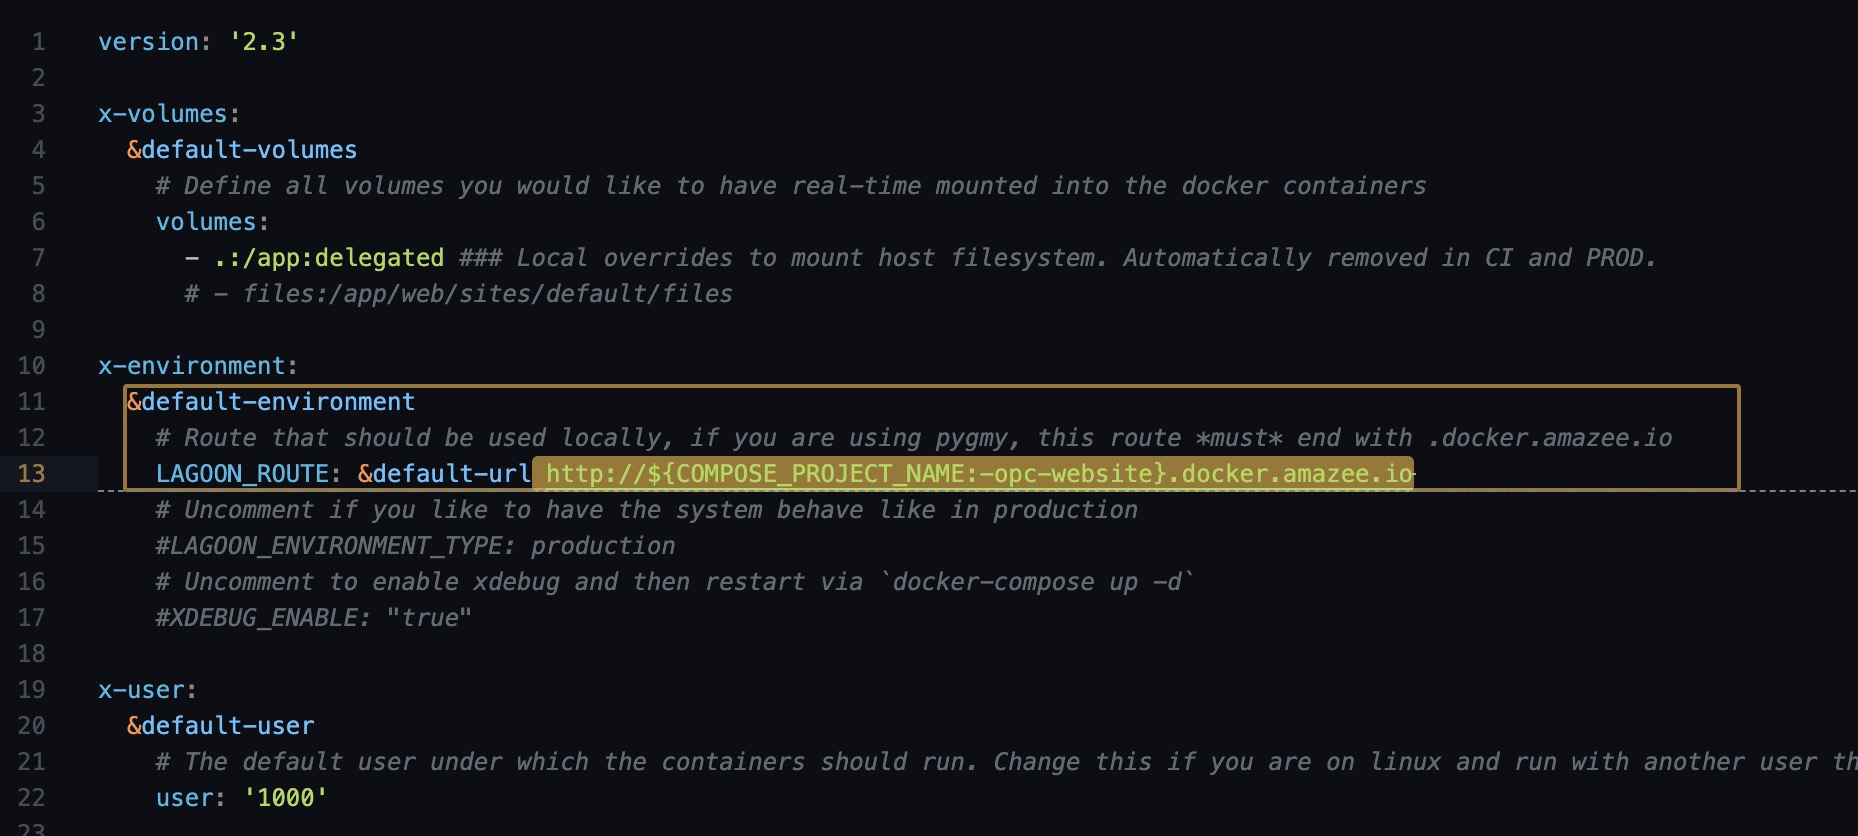
Noting that at this point although your website has been ready at http://opc-website.docker.amazee.io/, you have not yet imported your database, your drupal configuration, hence some of the content of your site will not function as expected, or not displaying at all.
3 - Importing Database & Configruation
Lastly, you will need to import the database of the website, (of which you can get the .sql/.mysql file via exporting from the production environemnt's CPanel phpMyAdmin), via the ahoy workflow of ahoy mysql-import "{$path_to_file}" (which will be equivalant to running the database import command inside the Docker container docker-compose exec cli bash -c 'drush sql-drop' && docker-compose exec -T cli bash -c 'drush sql-cli' < "{$path_to_file}"). This will import everything that is drupal content related within the production environemnt to your local machine, alike the following shown.

This action will override your existing database, so be careful if you have any unsaved content /configuration on your local machine, keep a backup before proceeding via ahoy mysql-dump {$path_to_file} if necessary !
Similarly, if you have any drupal configuration, you can import it via ahoy drush cim (runs drush cim command in the site's container)
![2023.06.13 - 16_16_26 - [Terminal-~Documentsé GitHubopc-website] -](/Documentation-Orion/assets/images/skdjalkjdlkasdas-d5a1cddc470ed8ac79b18828f3452db5.jpg)
Similarly you are able to run other drush command with the proxy of ahoy drush.
For example ahoy drush cr.